I tried making some letters for the new baby's room, and they came out cute, but look like there more for an older girl's room than for a nursery. So I decided to go in a different direction and start over.
.JPG) |
| These were the original ones. |
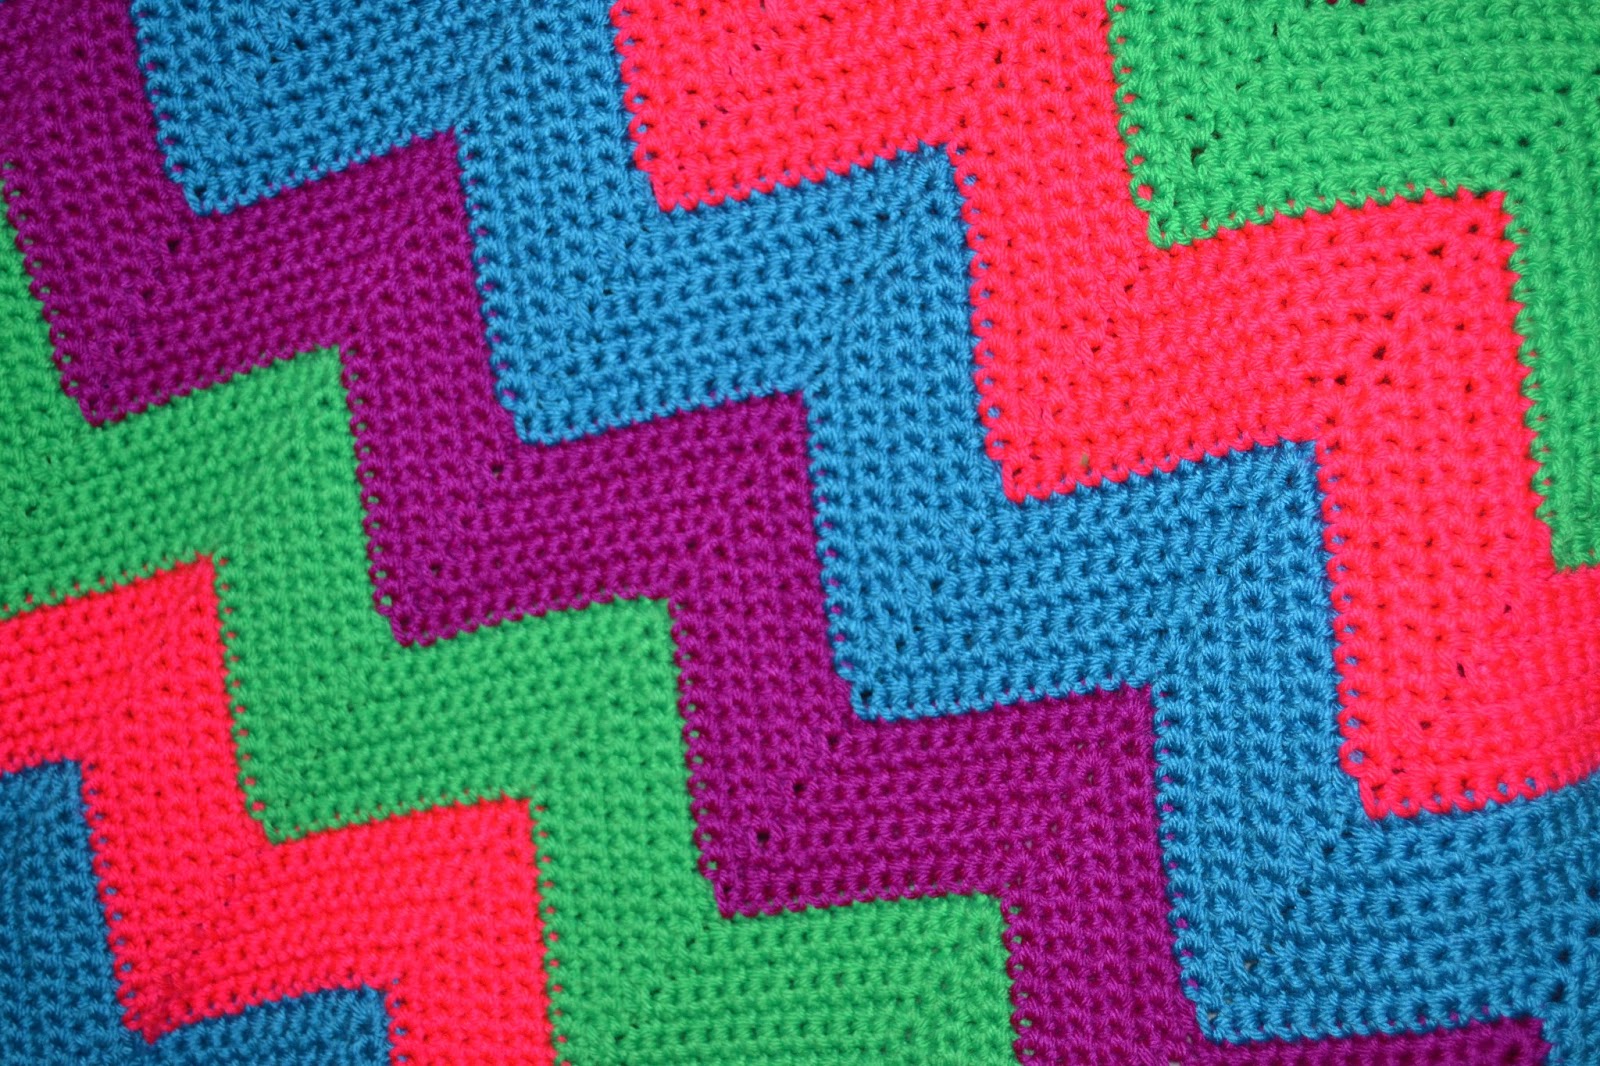
The original letters were done with 8x8 canvases, some letters, buttons, ribbon and a shit ton of glitter! These match the chevron blanket that I made but overall the new letters go with the nursery much better.
Materials:
.JPG) |
| New letters from Jo-Ann with Lion Brand Baby's First cotton yarn |
Letters from Jo-Ann Fabrics
Lion Brand Baby's First cotton yarn (bulky weight)
LOTS of glue from the glue gun
-patience. I recommend doing a test wrap without glue to figure out where you're going to put all of your yarn before starting. I had to re-do the "E" before I got it right.
Because I did ombre it was a little more time consuming, but I love the way they turned out! (This would also be a great project for a monogram!)
Applique sources are listed below the pictures.
My other piece of advice is this. Take your time! I stared at these things for weeks before I sat down to do them, I took some quiet time, put on some music and just did it.
I also took some paper and sectioned out the letters on where I wanted to change colors. You can barely see it in the top picture, but those were my very rough reference marks. it will make your life easier, just do it with something light and not a sharpie, you don't want your yarn to show through.
 |
| My Instagram pic of the work in progress |
 |
| The Finished product! |
All done!! This was a super fun project and I'm very glad I got them done in time for the baby's arrival!
 |
| I love this owl! |
The M's were pretty tricky, but I figured out that if you cut small strips and lay them down in the glue it's much easier than trying to wrap around the triangle shape...that goes for the tops of the M too, once you do that you can glue down the fringe and just wrap over it so it looks seamless. Each letter poses it's own challenge but once you get the hang of it, it will go pretty quickly.
 |
| The Rose mentioned in my other posts, I added a slip stitch of the yellow to make it two-toned. I also did the foundation chain in yellow but you can't really see that. |
 |
| Another close-up of hoots! |
Applique sources:
ALL FREE PATTERNS!
*I found the pattern for "hoots" as I've named him, I got it from
this pattern on ravelry.
*Flower on the 2nd "M" is
here - I modified the pattern a bit and did the same stitch repeat for the rose (sc, hdc, dc, hdc, sc) for each of the main petals instead of what the pattern called for.
*The rose is the same I used on my
crochet flip flops and winter wreath posts.
* Flower on 1st "M" is
here- I also modified this one and I only did one layer. I probably should've done more as I wanted to include more colors but I was exhausted and I liked how it looked after one round of petals.




.JPG)
.JPG)