Showing posts with label tutorial. Show all posts

Monday, January 17, 2022

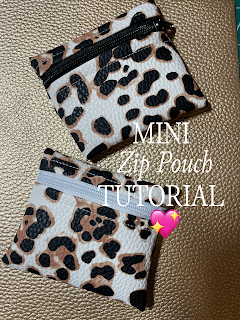
Mini Faux Leather Zip Pouch Tutorial


 If you're looking for a super fast, easy zipper pouch to make I have the perfect one for you right here on the blog. With these I am using faux leather so there is no need for interfacing, however if you decide to use cotton fabric you can easily add some fusible interfacing and follow the same pattern.


For these pouches I have made them in mini sizes but if you want to size them up for a larger pouch the steps are the same.

All you need is 

1 piece of faux leather (mine is 4"x6")

The best patterns for this are ones that have allover or multidirectional patterns, if not your pattern will end upside down on one side.
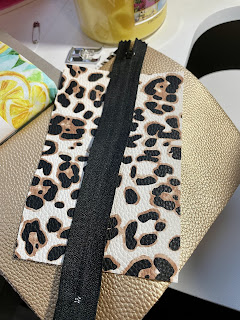

1 craft zipper

Wonder Clips (you really don't even need them) 

That is it

Step 1:

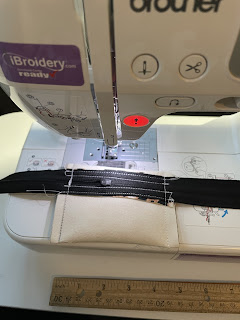
With your faux leather pretty side up, put your zipper tape face down and sew together using your zipper foot.
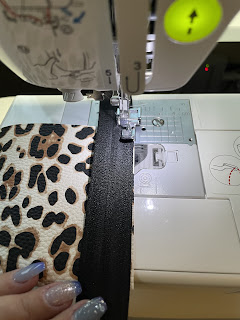
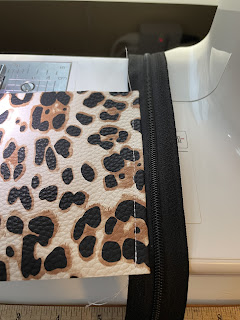
Step 2:

Turn your project over and finger press the zipper and faux leather open. Topstitch down the entire length of the pouch


Step 3:

Fold the other raw edge up to your zipper tape and repeat step 1
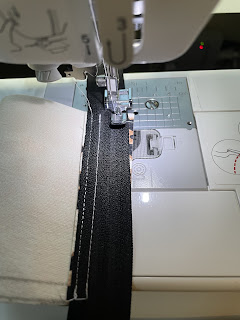

Step 4:

Open your zipper to turn the project right side out, topstitch down.
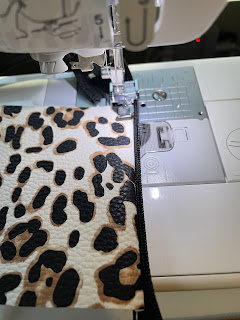

Step 5:

Zip back up but leave the zipper pull within the barriers of your project! If not you'll have a non working bag!
Leaving about 1/4" at the top of the bag, make sure your zipper tape is together and sew up both sides.
(If you are making a larger pouch you can leave about 1"-1 1/2" space at the top.


Step 6:


Trim excess zipper from both sides, if you want to and have a lighter on hand you can quickly seal the edges where you cut the zipper tape.


Step 7:

Turn project right side out through the zipper and poke out your corners. 

You are done!

So simple, so cute! I love to play around with different leather/zipper combinations.


Happy Sewing!

Tuesday, July 9, 2013

Crochet Embellished Flip Flops


I've seen quite a few pins on Pinterest showing off crochet sandals and I decided that I would make a pair. I bought the flip flops at Michael's for $1.00 and had all of the yarn on hand.

Basically all you're doing is creating a SC (single crochet) around the strap.


Start as close to the base of the sandal as you can!
-make your slipknot around the strap, leave yourself a 4" or so tail so you can weave it in.
-insert your hook under the strap, yo.
-bring your hook up, yo and pull through.
do this all the way around (even the toe part) and when you get to the other end, leave another small tail slip stitch and thread yarn through a tapestry needle.
-bring the yarn up through the inside of the strap, pull tight and cut yarn. smooth it into the strap so it's invisible.


For the rose I used the same pattern from the winter wreath and attached it with the tapestry needle and hiding the yarn ends the same way.

This was a very quick and easy way to spruce up some cheap sandals. Give it a try!