Showing posts with label picture post. Show all posts

Monday, May 16, 2016

Legend of Zelda Graph C2C Lap Blanket


Another project is finished! I'm so happy that it's done. My wonderful husband is a big fan of the Legend of Zelda games and I couldn't resist making him this graph.

The finished blanket measures around 40x32 inches and is more for display/lap blanket than to be practical however, I love the finished product and I'm proud of it! It took me awhile due to my struggle with the seemingly endless color changes (weaving in ends took FOREVER!). I had originally planned for a fabric backing but changed my mind once the border was on.


Here is where you can find the original graph I used. I just printed out the image and crossed off each row as I went. I also find it easier to number my rows and columns so its easier to remember what side you're working on.
Work In Progress

For the border I did this one by the crochet crowd. I did 3 rows in blue and one in black to finish it off.

All those ends!! And this is about half of them!
I used mostly Red Heart Super Saver for the colors, except for the background color, Dark grey and the black, they were all Caron One Pound in Sky Blue, Dark Grey and Black.

I am going to be trying a new technique known as the Magic Knot for any future projects with lots of color changes. NO ends to weave in.  Click the link for a video tutorial!

I hope you enjoyed this project, I really did and will be trying out more soon!

Happy Crafting!
Before the border

Thursday, May 22, 2014

Taking better photos for your blog


Taking better pictures has always been a challenge for me. I bought myself a Light Box years ago and when I got it I didn't really understand how to use it properly. I still have a slight learning curve (i.e. I suck at taking pictures) but I think I'm starting to get better.
I set up a picture taking station in my craft room which consists of a small foldable table (I like it because I can adjust the height) my light box (for small items) and numerous fabric backdrops ready to go. I have them clipped in binder clips and hung on command hooks. this comes in handy for the bigger projects that can't use the light box. *although I still use the lights.

This is what that looks like...pardon the mess.

If you click on the picture you can see where I labled all of the parts. Now, from this setup, I was able to get this photo.
not bad right?
 
And here is my light box set up
 
The key is to keep trying. Experiment with different things. Maybe you have a perfect spot in your yard, (nothing is better than natural light, IMO) Keep playing around until you are seeing what you love show in your photos. Let your work shine! Aside from making the project itself I get just as much joy when I can capture it's beauty in a good quality photograph.**
 
I am in no way saying that I am a pro photographer, far from it. This is just a very small, IMO easy way to get started with taking better photos. 
 

Saturday, April 12, 2014

Crochet Baby Cocoon

I got this simple pattern from Ravelry and changed it up a bit. I just love how it came out and can't wait to make more colors.


Making baby photo props has become one of my go-to projects when I'm looking for something quick. A cocoon like this one takes about 2 hours, less if you use a bigger hook. You could also tighten this up and use a smaller hook to create more of a basket effect. I love the white but I am looking to try it in a brown.

I was lucky again to have my work photographed by the very talented Laurie Brandt at Laurie Brandt Photography. She is amazing!

Monday, November 11, 2013

Hello Kitty Party

This past weekend was my oldest daughter's 4th birthday party! Today is her actual birthday and while I'm still coming down from the weekend I thought I'd share her birthday party. It was Hello Kitty themed and she loved it. I had a lot of fun planning it and luckily for me HK is absolutely everywhere so it wasn't too hard to find ideas for the party.

First were the invites, these were again done by my lovely friend. She did an amazing job as usual!
 
Everything after that pretty much fell into place, I decided to go with a small HK cake and coordinating cupcakes. All of the toppers were purchased at Party City. The cake pan and cookie cutters were from Amazon. For the round chocolate decorations on the cake, I got those at JoAnn fabrics in the cake section. They were an easy add on and a less painful way to decorate than piping all of the detail on the cake.
We did another bounce house this year, even though it was much colder than last year all of the kids still had a blast
.
Door sign from Etsy
Cookies were decorated with edible markers


She's 4!!

Tuesday, November 5, 2013

Fall


         I love the fall. I love the leaves, I love the colors, I love the crisp air, I love football and I love taking pictures. I'm still learning my camera (Nikon D3100) but anytime I can I'm enjoying snapping some pictures of the season. This year I was lucky and able to get some great pictures of the leaves. I had my camera on the P setting and seemed to have good luck with it. I'm trying not to use the flash whenever possible and staying away from Auto mode.
I'd love to take some photography classes at some point but for now I'm just going to practice!


Monday, October 21, 2013

Ceiling Fan Re-Do!

For my birthday this year my awesome husband bought me a mini ceiling fan for my craft room/office. Before it was installed I decided I would spruce it up a bit with some fabric and Mod Podge.

I still have a ton of this damask fabric leftover from when I did the window treatments so I figured I would have everything match.

Materials Needed:
Mod Podge (MP)
Fabric
Scissors
X-acto knife
Paint Brush

First, I laid out the blades and traced the outline onto the fabric. Then I put a thin layer of MP down on the blade and laid the fabric on top. I set them aside to dry for a couple of hours. I then followed with 3 coats of MP on top of the fabric to seal it. After everything was dry I used the x-acto knife to make the holes for the screws in the fabric and clean up the edges.
Then I installed the hardware and had it installed!
I love my present!


And I made a matching light switch plate as well!


Tuesday, November 13, 2012

Minnie Mouse Birthday Party

My daughter turned 3 on Sunday and we also had her birthday party. You guessed it, the theme was Minnie Mouse! Of course I had to add my own twist on it and included zebra, because what's a party without zebra print?!

First, I have to thank my wonderfully talented friend Kat for our invites!


The rest of the pics are pretty self explanatory so here they are!


The cupcakes were dressed up with royal icing bows "glued" on to oreos with mini oreos as the ears.

The cake itself was  6" around, and the topper was made from a styrofoam ball and cardboard covered in fondant. With a gumpaste bow and candy melts for polka dots.

Happy Birthday!

The finished cupcakes!

Up close and personal

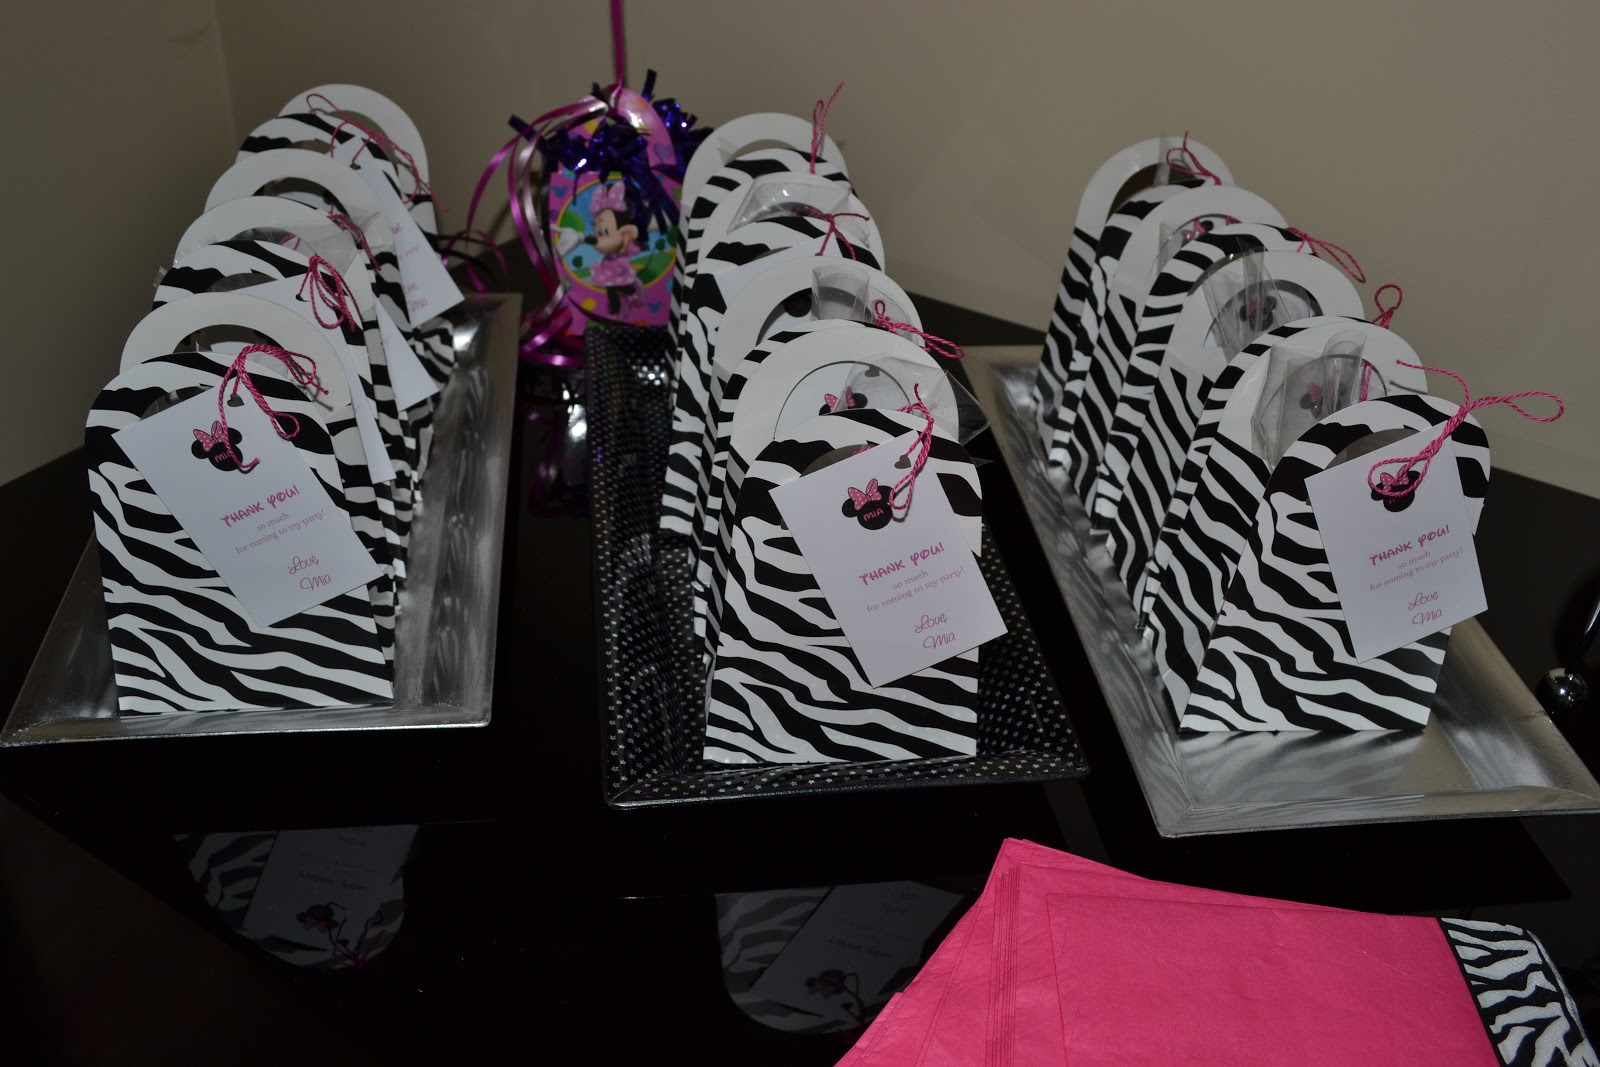
Goody bags (Minnie cookies inside) With printed custom thank you card.