Friday, September 6, 2013

Newborn Shadow Box

You may have noticed I have not blogged for a while, well, that's because I gave birth to our new baby girl a couple of weeks early! It was a very welcomed surprise because this mommy was very uncomfortable those last few weeks she was cooking!
Well now that she's here and we've settled in a bit I can resume working on the blog, I've missed it!
For this first post back I wanted to share the shadow box that I made for her room.

Materials:

8x8 shadow box from Michaels
1 sheet of scrapbook paper
Hat from the hospital
birth announcement

I probably should've used a bigger shadow box but I like that it's simple and there isn't too much going on in there. The scrapbook paper is already pretty busy and I still wanted to be able to see it.
So, here it is!


Sunday, July 28, 2013

Ombre Yarn Letters

I tried making some letters for the new baby's room, and they came out cute, but look like there more for an older girl's room than for a nursery. So I decided to go in a different direction and start over.
These were the original ones.
 The original letters were done with 8x8 canvases, some letters, buttons, ribbon and a shit ton of glitter! These match the chevron blanket that I made but overall the new letters go with the nursery much better.

Materials:
New letters from Jo-Ann with Lion Brand Baby's First cotton yarn
Letters from Jo-Ann Fabrics
Lion Brand Baby's First cotton yarn (bulky weight)
LOTS of glue from the glue gun
-patience. I recommend doing a test wrap without glue to figure out where you're going to put all of your yarn before starting. I had to re-do the "E" before I got it right.
Because I did ombre it was a little more time consuming, but I love the way they turned out! (This would also be a great project for a monogram!)
Applique sources are listed below the pictures.
 My other piece of advice is this. Take your time! I stared at these things for weeks before I sat down to do them, I took some quiet time, put on some music and just did it.
I also took some paper and sectioned out the letters on where I wanted to change colors. You can barely see it in the top picture, but those were my very rough reference marks. it will make your life easier, just do it with something light and not a sharpie, you don't want your yarn to show through.


My Instagram pic of the work in progress

The Finished product!
 All done!! This was a super fun project and I'm very glad I got them done in time for the baby's arrival!
I love this owl!

 The M's were pretty tricky, but I figured out that if you cut small strips and lay them down in the glue it's much easier than trying to wrap around the triangle shape...that goes for the tops of the M too, once you do that you can glue down the fringe and just wrap over it so it looks seamless. Each letter poses it's own challenge but once you get the hang of it, it will go pretty quickly.
The Rose mentioned in my other posts, I added a slip stitch of the yellow to make it two-toned. I also did the foundation chain in yellow but you can't really see that.

Another close-up of hoots!
Applique sources:

ALL FREE PATTERNS!

*I found the pattern for "hoots" as I've named him, I got it from this pattern on ravelry.
*Flower on the 2nd "M" is here - I modified the pattern a bit and did the same stitch repeat for the rose (sc, hdc, dc, hdc, sc) for each of the main petals instead of what the pattern called for.
*The rose is the same I used on my crochet flip flops and winter wreath posts.
* Flower on 1st "M" is here- I also modified this one and I only did one layer. I probably should've done more as I wanted to include more colors but I was exhausted and I liked how it looked after one round of petals.

Tuesday, July 9, 2013

Crochet Embellished Flip Flops


I've seen quite a few pins on Pinterest showing off crochet sandals and I decided that I would make a pair. I bought the flip flops at Michael's for $1.00 and had all of the yarn on hand.

Basically all you're doing is creating a SC (single crochet) around the strap.


Start as close to the base of the sandal as you can!
-make your slipknot around the strap, leave yourself a 4" or so tail so you can weave it in.
-insert your hook under the strap, yo.
-bring your hook up, yo and pull through.
do this all the way around (even the toe part) and when you get to the other end, leave another small tail slip stitch and thread yarn through a tapestry needle.
-bring the yarn up through the inside of the strap, pull tight and cut yarn. smooth it into the strap so it's invisible.


For the rose I used the same pattern from the winter wreath and attached it with the tapestry needle and hiding the yarn ends the same way.

This was a very quick and easy way to spruce up some cheap sandals. Give it a try!

Saturday, June 29, 2013

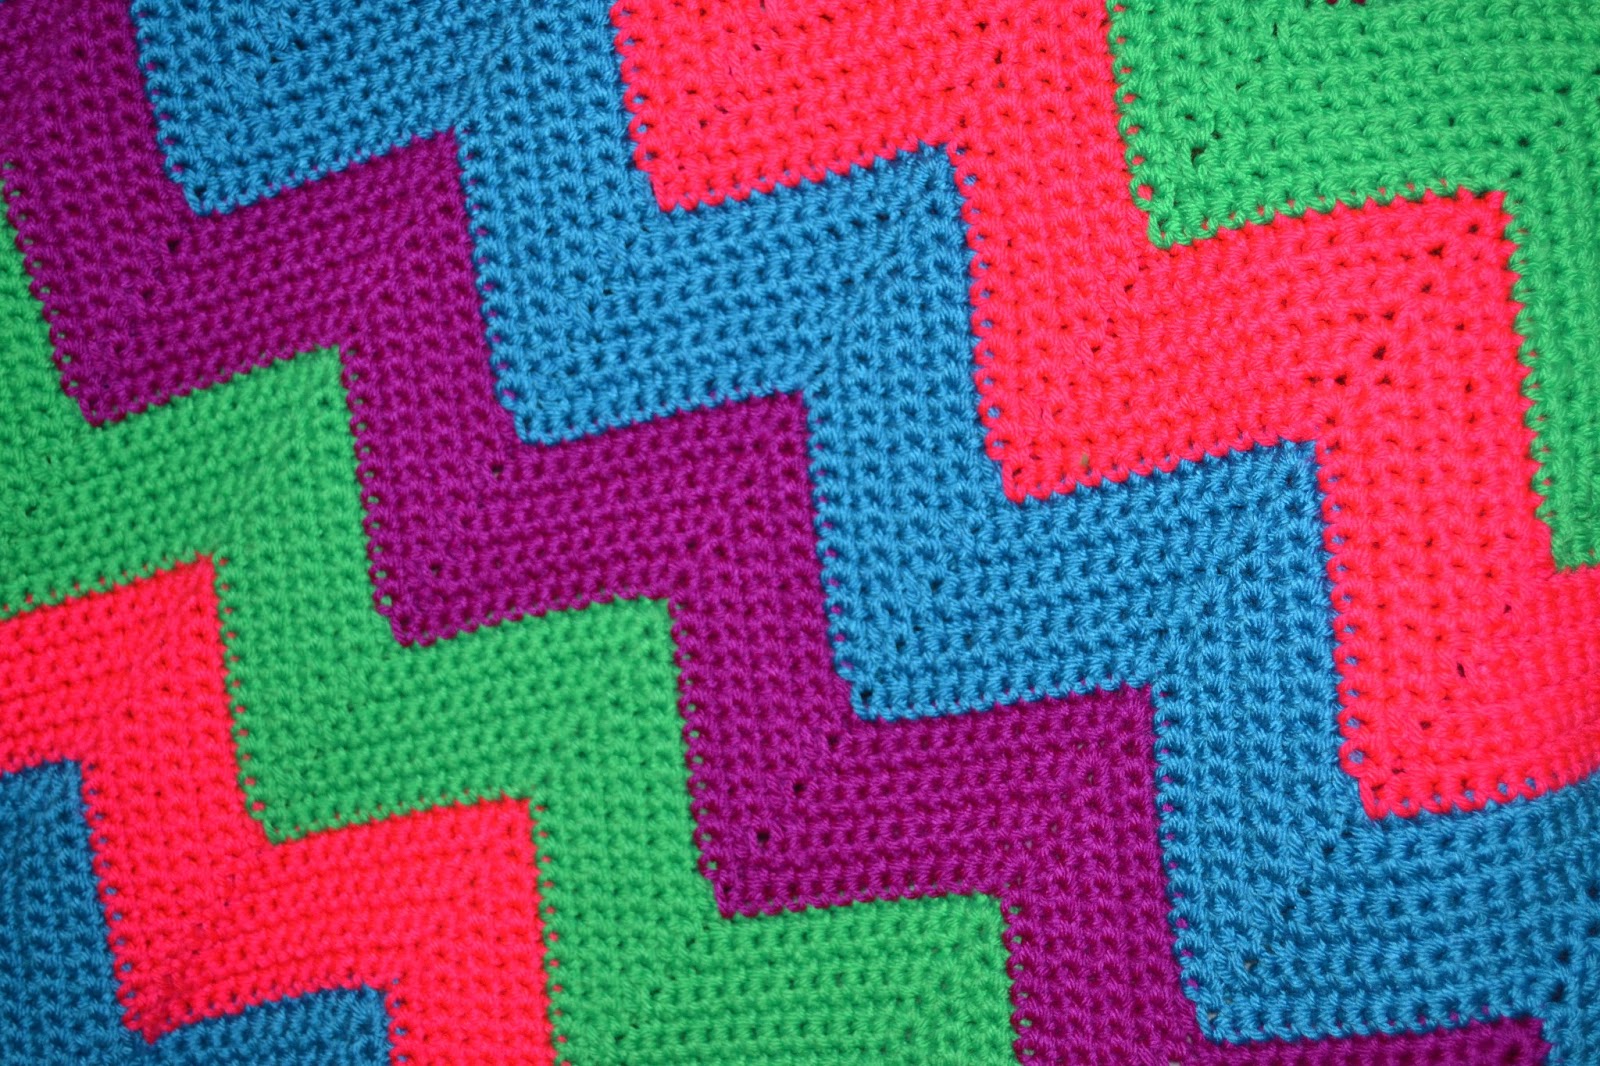
Neon Chevron Blanket

 
I have been wanting to try making a chevron blanket for awhile now but for some reason I was intimidated by most of the patterns I came across so I didn't bother. But when I decided to have chevron as a design feature in baby's nursery I had to give it a shot.
I did find a pattern here I basically followed it but I made a few changes.
1. I changed colors every 8 rows instead of 10
2. I did not fill in the triangles at the top and bottom of the blanket, I like the ripples.
3. I added a border color (sc all the way around)

After a little over 2 weeks of work it is all done, and I must say, I love it.
yes, the colors are bright for a nursery but I love neon and the yarn was on sale! Obviously you can use any color combo you want but I was feeling adventurous.

Here it is!


Sunday, April 21, 2013

Crochet Flip Flops


Need I say more?

utter, cuteness!

Pattern can be purchased here for $5.00.

These were time consuming but really fun to make. It's a shame that my 3 year old can't wear them, she got totally jealous when I was making them!

If you decide to give the pattern a try, be warned. Read through it all first, It's important to have all of the steps in your head first before you start.
Have fun!

Saturday, April 20, 2013

Girly Minion Hat


Another hat made for my 3 year old daughter, she loves the movie Dispicable Me and the minions. She had a "Crazy hat day" at her preschool and I just had to make this for her. I got the pattern from this blog.  There is a link to the free PDF pattern there.Things I changed: HDC for 1 less row than the pattern calls for,  adding the bow and having the border be pink instead of blue (also only 1 row of pink). All yarn used was Red Heart Super Saver.

Monday, April 1, 2013

Crochet Newsboy Hat


This was for the same photoshoot as the Mickey Mouse Set
 
Again, it looks way cuter on the little guy than on my makeshift display!
Photo Credt: http://www.photographybycaitlin.com/
Update:
The link for the pattern is here. (it is a free Ravelry download)
For the strap I just measured the part where I wanted it and did a chain, dc in the next row (skipping 1 stitch for the button hole) and secured it and the button to the hat!

Mickey Mouse Crochet Set

I made this set for an adorable little boy's newborn shoot. The entire set is was made using 100% cotton yarn for sensitive skin and easy maintanence.


Photo credit: http://www.photographybycaitlin.com/


Although I was intimidated by the pattern at first, I tackled it and had no issues. I only needed 2 nights of working on it to get it done! (which is fast for me now considering I'm usually in bed by 9pm most nights!

I think it looks much cuter on the model! Update: Free pattern I used can be found here. 

Tuesday, March 19, 2013

Hat donation deadline

The first group of hats will be sent the first week in April. So please have your donations to me by Easter (3/31).

If you can't make this round, no worries there will be more!

Thank you all for your support!

Sunday, March 10, 2013

Crochet Cupcake Earflap Hat

Inspired by the cupcake blanket I made I wanted to continue the theme and make a cupcake hat for my 3 year old.


Basically what I did was follow a basic pattern for a earflap hat, and I sewed on the cupcake applique.

I think it came out really cute, the only thing I will do differently next time is make the applique smaller so it doesn't take up so much of the hat.
But besides that, I love it.

The entire hat is made out of 100% cotton yarn, now that spring is approaching (YAY!) I didn't want her to sweat wearing it. And of course, it's washable, so what's better than that with a 3 year old.

Here's what I did: (This pattern is from Repeat Crafter Me, I use this base for all of my hats.)

Hat in toddler/preschool size:

Magic Ring, Chain 2, 9 DC in magic ring, join to first DC, ch 2
Round 2: 2 DC in each around, join to first DC, ch 2 (18 DC)
Round 3: 2 DC, DC in next, repeat around, join, ch 2 (27 DC)
Round 4: 2 DC, DC in next 2, repeat around, join, ch 2 (36 DC)
Round 5: 2 DC, DC in next 3, repeat around, join, ch 2 (45 DC)
Round 6: 2 DC, DC in next 4, repeat around, join, ch 2 (54 DC)
Round 7: DC around (54 DC)
Change color, join and ch 2
Round 8-12: DC around (54 DC) fasten off and find a point to make your earflaps (i like to do mine on the sides so the seam is in the back)

Earflap 1:
Row 1: Chain 2, HDC 12, chain 2, turn
Row 2: HDC decrease, HDC in next 8, HDC decrease, chain 2, turn
Row 3: HDC across, chain 2, turn (10 HDC)
Row 4: HDC decrease, HDC in next 6, HDC decrease, chain 2, turn
Row 5: HDC across, chain 2, turn (8 HDC)
Row 6: HDC decrease, HDC in next 4, HDC decrease, chain 2, turn
Row 7: HDC across, chain 2, turn (6 HDC)
Row 8: HDC decrease, HDC in next 2, HDC decrease, chain 2, turn
Row 9: 2 HDC decreases, chain 2, turn
Row 10: HDC decrease, fasten off leaving long tail.

Earflap 2:
Leaving 23 stitches along the front for child size hat, 25 stitches along the front for adult size hat...
Row 1: Chain 2, HDC 12, chain 2, turn
Row 2: HDC decrease, HDC in next 8, HDC decrease, chain 2, turn
Row 3: HDC across, chain 2, turn (10 HDC)
Row 4: HDC decrease, HDC in next 6, HDC decrease, chain 2, turn
Row 5: HDC across, chain 2, turn (8 HDC)
Row 6: HDC decrease, HDC in next 4, HDC decrease, chain 2, turn
Row 7: HDC across, chain 2, turn (6 HDC)
Row 8: HDC decrease, HDC in next 2, HDC decrease, chain 2, turn
Row 9: 2 HDC decreases, chain 2, turn
Row 10: HDC decrease, chain 1, turn
Continue to SC around the entire hat. Join to first SC and fasten off, leaving long tail.
 
Cupcake Applique: (I fould this pattern on Louie's Loops and it's supposed to be for coasters, but I adapted it for the hat and made some changes to the frosting part, it was confusing and didn't look right to me)
 
Materials:
(basically any 100% cotton works)
-Needle to sew in ends with
Abbreviations:
-SL.ST = Slip Stitch
-SC = Single Crochet
-HDC = Half Double Crochet
-DC = Double Crochet
-Ch = Chain
-Rnd = Round
In color A (brown) Ch 10
Rnd 1: Sc 8, turn.
Rnd 2: ch 1, sc 8 in back stitches
Rnd 3 – 14: Repeat x 12 (14 total)
Change to color B
Rnd 15: ch 1, Sc 1 in the sides of each row 14, turn. [Don’t cut, Leave color B attached] (14)
Change to color C
Rnd 16: ch 1, sc 2 in first, sc 1 in next 12, sc 2 in next, turn. (16)
Rnd 17: Don’t ch, skip first st, sc 1 in next 14, stop one early, turn. (14)
Rnd 18: ch 1, sc 1 in each, turn. (14)
Rnd 19: Don’t ch, skip first st, sc 1 in next 12, stop one early, turn. (12)
Rnd 20: ch 1, sc 1 in each, turn. (12)
Rnd 21: Repeat (12)
Rnd 22: Don’t ch, skip first st, sc 1 in each, turn. (11)
Rnd 23: Repeat (10)
Rnd 24: Repeat, cut and tie off. (9)
*For Cherry, count in three stitches from top, pull through in the fourth st from end on Rnd 24…
Rnd 25: sc 1 in fourth from the end and next two, turn. (3)
Rnd 26: Don’t ch, skip first st, sc 1 in next 2, turn. (2)
Rnd 27: Don’t ch, skip first st, sc 1 in the last st, cut and tie off. (1)
*For lining
Rnd 28: Using the color B left off and uncut from Rnd 15, pull one through the end of Rnd 15 and sc 1 in each Rnd and st around the piece, cut and tie off, sew the remainders into the piece. (≈59)
So that is how I did this hat. I've found that you can make a basic hat shape and do anything with it, animal faces, appliques, bows, pom poms, anything at all. I'm having lots of fun coming up with different combinations!