Friday, December 7, 2012

Snowman Hats!

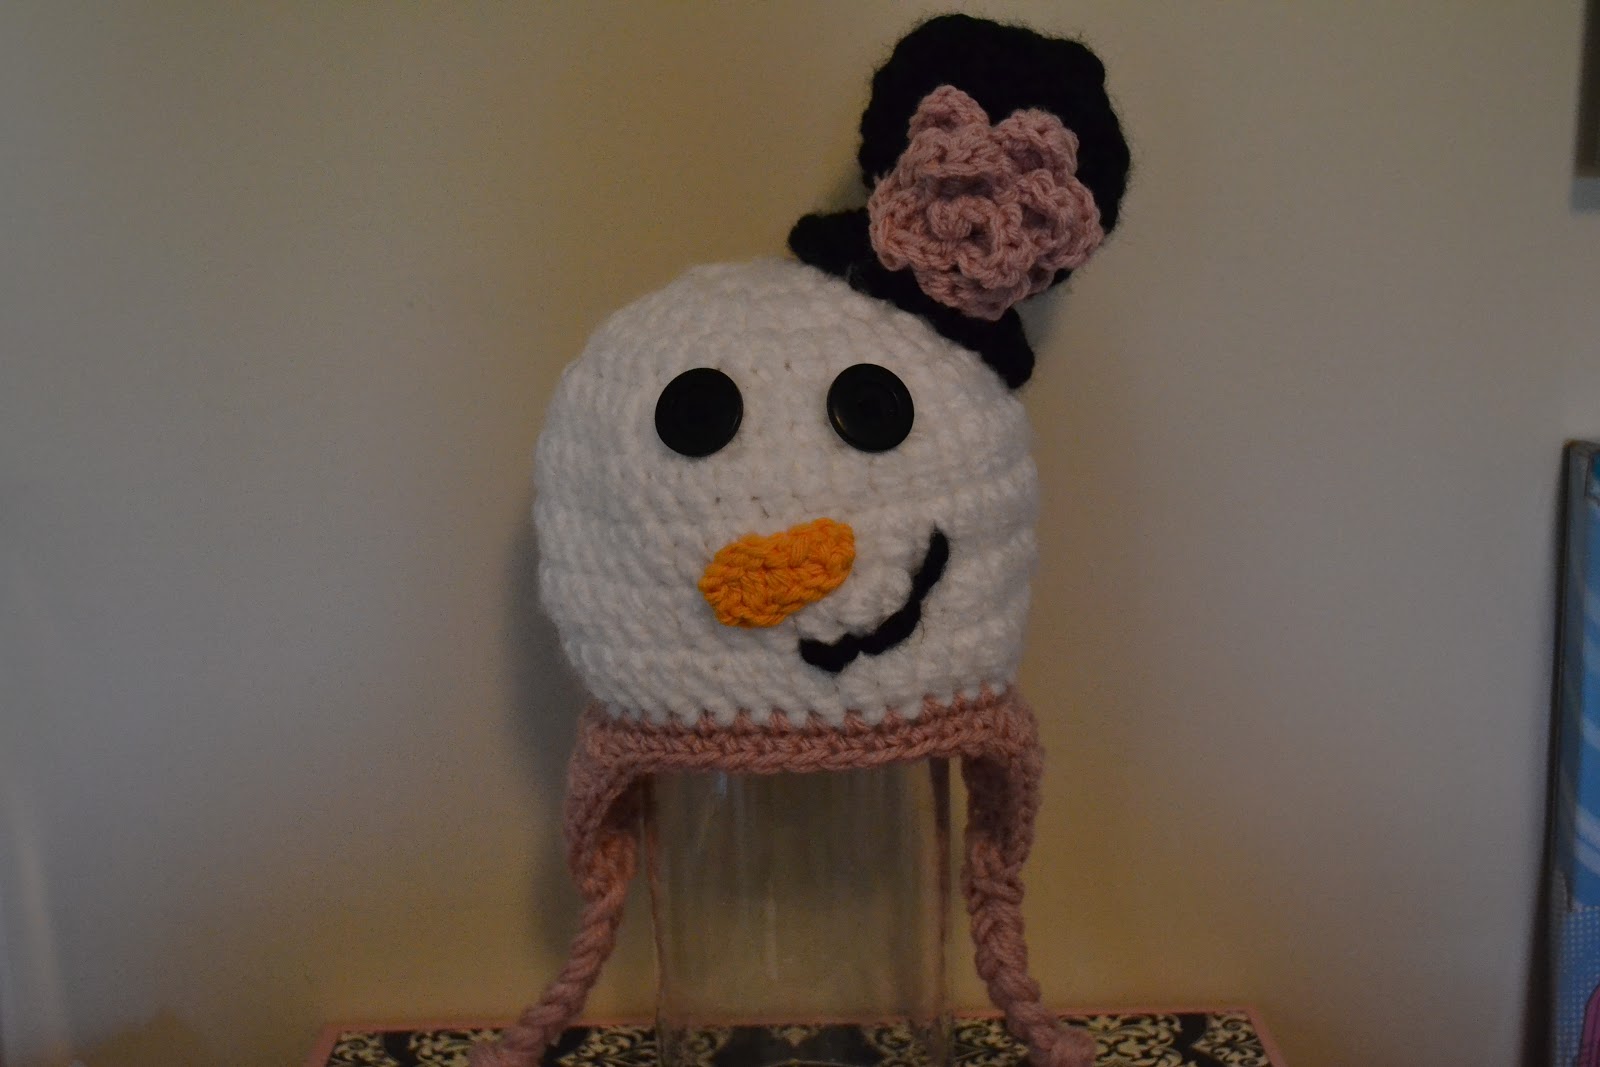
OMG I'm obsessed with these hats. I found the pattern here. The only thing I did differently was add the crochet roses from my yarn wreath post to accent the adorable top hat.


Monday, December 3, 2012

Yarn Wreath- Winter Edition

Pretty right?

This one was very easy, I used some chunky yarn in 3 colors, Grey, a teal and a varigated green/blue purple.

The roses were croched from a very simple pattern, as long as you can do the main crochet stitches you can make these flowers.

Crochet Rose: (found on youtube but I'll write it out for you)

Use any size yarn/hook depending on how large you want your rose to be. I used 2 different size hooks here.

Leave a long tail for sewing CH 28, sc across, turn work. *sc, hdc, dc, tc, dc, hdc, sc, [all in same stitch]  slip stitch,* repeat to last stitch, do puff stitch. (yo, go in hole of last stitch, yo, pull out, yo (until you have 5 loops on hook) yo and pull through all stitches, cut yarn and sew into shape. Hot glue onto wreath, or sew into scarf or anything else you want to use them for!
Wednesday, November 28, 2012

Sock Monkey Hats

And twins.
 
Seriously, aren't these the cutest little monkeys ever?! My wonderful friend Kat is the mom of these two little darlings and asked me to make them sock monkey hats for the holidays. I happily obliged and couldn't be happier with the turnout.

I used a mashup of a few different patterns and didn't write out my own but if I ever make another one I will try to remember to jot everything down!


Tuesday, November 27, 2012

Crocheted Skirt for Elf on the Shelf

Sittin' Pretty
When I buy something for my daughter, even if a million other people have it, I like to try and make it as custom for her as possible. I know how huge the Elf on the Shelf is and even though we got her a girl elf, who she has named "Snow Angel" she didn't look very girly. So in about 30 minutes I whipped her up a quick skirt and the next morning she was sporting her new fashion from the North Pole.
 
I've written up the pattern, it's very easy! Have at it, and if you make some link me in the comments, I would love to see other color combinations!

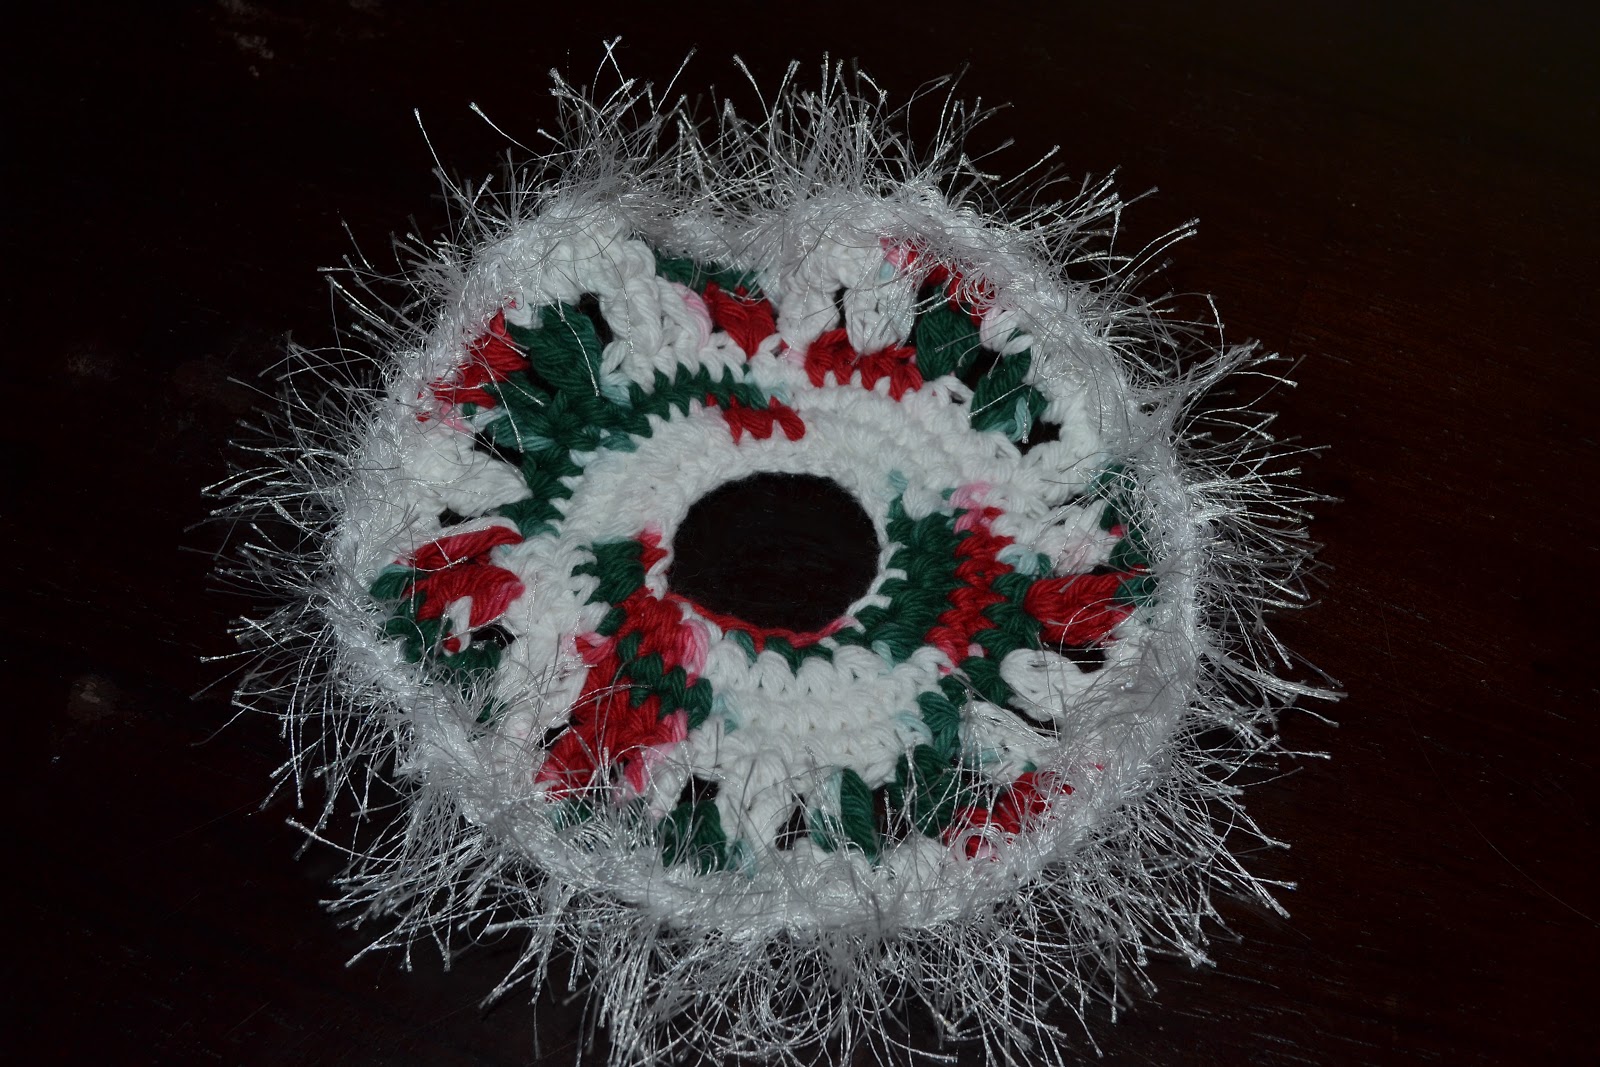
Looks like a fuzzy doughnut


So cute!

Monday, November 19, 2012

Pacifier Clips

When my daughter was a few months old I decided to try and make some pacifier clips that I had seen in the store.
it turns out that they're super easy to make, and super cute!


These are for sale now!

Tuesday, November 13, 2012

Minnie Mouse Birthday Party

My daughter turned 3 on Sunday and we also had her birthday party. You guessed it, the theme was Minnie Mouse! Of course I had to add my own twist on it and included zebra, because what's a party without zebra print?!

First, I have to thank my wonderfully talented friend Kat for our invites!


The rest of the pics are pretty self explanatory so here they are!


The cupcakes were dressed up with royal icing bows "glued" on to oreos with mini oreos as the ears.

The cake itself was  6" around, and the topper was made from a styrofoam ball and cardboard covered in fondant. With a gumpaste bow and candy melts for polka dots.

Happy Birthday!

The finished cupcakes!

Up close and personal

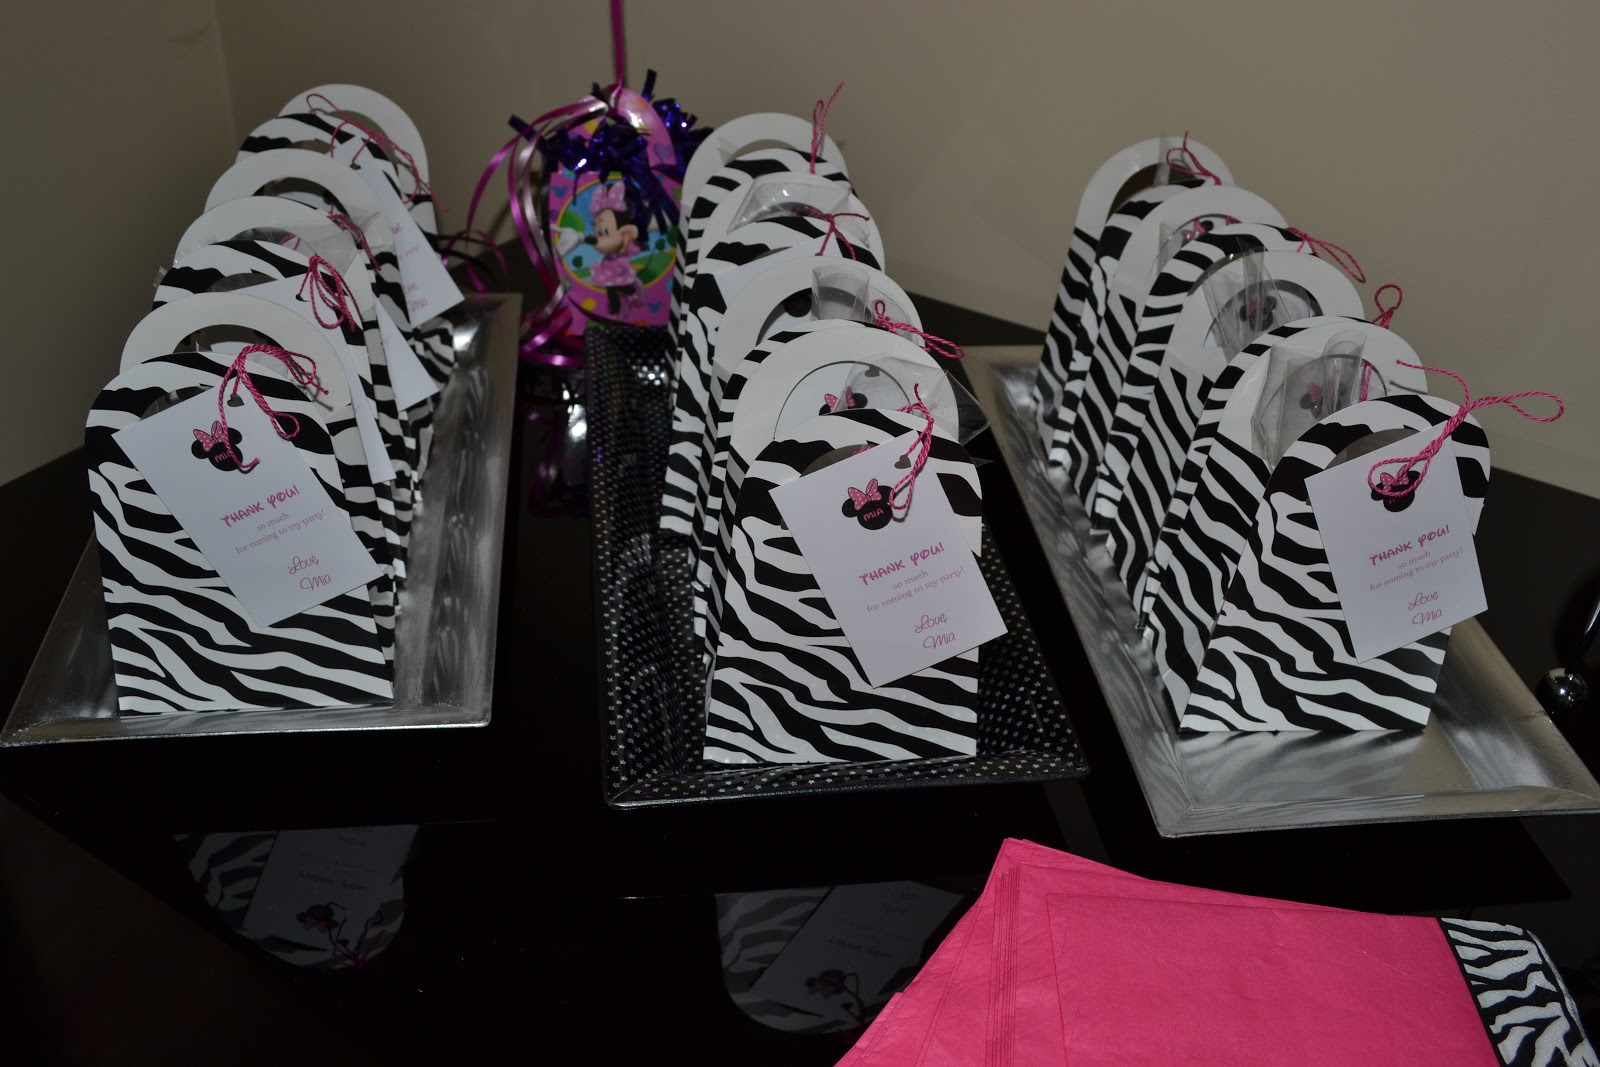
Goody bags (Minnie cookies inside) With printed custom thank you card.


Thursday, November 1, 2012

Sewing 101

I finally learned how to thread my sewing machine and get it working, I still have a little ways to go but I'm getting there. At least I can sew in a straight line! I'm very excited to start work on some projects that were put on hold. I'm also very excited for the holidays so I can make some wonderful homemade gifts. I know, "oh joy" but trust me, homemade gifts can be fun, creative and in these tight economic times, nice and friendly to the pocketbook. I may be spending even more time on Pinterest than usual to get some inspiration.
What the heck did people do before the internet?

Oh, and we're thisclose to getting 200 "likes" on facebook! So please share us with your friends, it's very exciting to have so many readers and I'm looking forward to spending more time crafting and blogging so I can share everything with you!
I hope everyone had a happy and safe halloween!

Wednesday, October 24, 2012

Knit Poncho


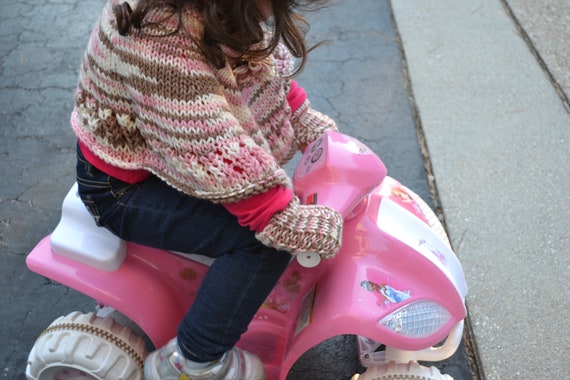
I made this poncho for my daughter over a year ago and she still loves to wear it. She can also wear it as a skirt if she really wants to. It's adorable and doesn't take too long to make.

I also made matching fingerless gloves to match. Between the two projects I used less than one skein of yarn. I used Loops & Threads Impeccable worsted weight yarn. It's a pretty soft yarn to begin with but once it's washed, it's super soft.

Monday, October 22, 2012

Candy Corn Costume


Look at this adorable little boy!

I've seen a version of this on Pinterest and no matter how hard I tried I coudn't find a pattern for it. So I made one. Knitting this up only took a couple of days and since I used cotton yarn along with the eyelash it ended up being super warm.

I didn't take exact measurements of this but since it is like a coccoon you could make it a tad bigger or smaller and it could've fit on my almost 3 year old as a dress.

The body of the costume was actually very easy, and the hat I modified from this pattern on Ravelry. I used less decrease rounds and didn't have as severe a point, but if you want a really pointy hat, this pattern would do. I also cast on fewer stitches since it was for an infant.

Materials:
1 ball each of yellow, orange and white cotton yarn
1 ball each of yellow, orange and white eyelash yarn (white is fun fur, yellow and orange are lash max)
size 15 circular needles
tapestry needle.

Both pieces are worked with one strand of cotton worsted weight yarn and one strand of eyelash yarn.

Body:
Cast on 40 sts in yellow, join in round.
Knit for 25 rounds
Switch to orange
Knit for 20 rounds (if you don't want tank top sleeves, knit the extra 5 rows and bid off, if you want sleeves, continue)

Straps:
Cast off 13 sts, knit 4 sts, CO 5, knit 4 sts, CO rest of stitches.

P1, K1, P1, K1 on first strap
Place 2nd group of 4 sts on stitch holder.

go back to first strap and repeat P1, K1, P1, K1 for 15 more rows
Bind off

Pick up second group of stitches for straps and repeat
P1, K1, P1, K1 for 16 rows total.
Bind off

Sew straps to body, or secure with buttons

Optional:
Sew up bottom

Tuesday, September 25, 2012

Crochet Owl Hat

Thanks to Gail Anne Photography for the beautiful photo.
 
I made this hat for my friend's newborn daughter and I was lucky enough to have my work photographed on one of the cutest baby girls I've ever seen! After completing this hat I've decided to open an Etsy shop for my knitted/crocheted items.

I'll try not to plug my store too often but I will leave a link ^ up there for you to take a gander at anything I have for sale.
I'll also be doing giveaways and special coupon codes for my readers.
This hat can be done in many variations but I'm definitely partial to the sleepy eyes. For older babies/kids hell even adults the braids can be omitted.
I'm very excited to add more items to my store and hopefully use up that stash of yarn!