Sunday, January 19, 2014

Easy Apple Jell-O Poke Cake


This cake is one of my favorites to do in a pinch. The best part is the combinations are literally endless. But the main staples are a box of cake mix, a box of instant pudding mix and a packet of dream whip.
Normally I do a chocolate cake with some kind of berry Jell-O, but this time I saw the Jolly Rancher Apple Jell-O and thought I'd give it a try. Next time I will probably add some caramel syrup to the pudding/frosting to make it a caramel apple cake.
This cake is super easy to make, made even easier by using the throw-away pans.
Tip: I make this cake the night before it's needed, just to make sure it's nice and cold/set. If you're in a hurry though, you can do it about 5 hours ahead of time.


Step 1: prepare cake mix as usual, you don't need to grease the pan. 35 minutes at 350 in my oven and it's perfect. When the cake is almost done baking, prepare your Jell-O. I use the smaller box, but if you have a big box, go for it, it'll just make the cake more Jell-O-y.


Jell-O is ready to go!
 Step 2: As soon as the cake comes out of the oven, go nuts and poke a bunch of holes in it.
Then pour on your Jell-O, cover it and stick it right in the fridge


Step 3: The Frosting- These directions are also on the back of the Dream Whip box- With an electric mixer, combine 1 packet of instant pudding mix (4 serving size), 1 packet of Dream Whip and 1.5 cups of cold milk. Mix on high until stiff peaks form (if you're using skim milk this might take awhile) That's your frosting, it's that easy. Keep in mind, this cake needs to stay refrigerated, so only take it out when you're ready to serve. Enjoy!!


Some flavor combos:
Vanilla cake - Orange Jell-O , vanilla frosting w/orange rind it takes like a Creamsicle
Chocolate cake- Raspberry Jell-O, chocolate frosting
Vanilla cake- Lemon Jell-O, vanilla frosting
Chocolate cake- Cherry Jell-O, chocolate frosting - a family favorite!

One thing I've been wanting to try but haven't yet is to layer the Jell-O. If someone wants to try this let me know how it comes out!

*You could also make an adult version and instead of the cold water in the Jell-O add some Vodka for a Jell-O shot cake! *

Friday, January 3, 2014

Easy Broccoli and Cheese Casserole


I made this for Thanksgiving and again for Christmas and I had to share. It's so yummy, and quick, and super easy. It's fattening as all hell but oh well, it's that damn good.
Now, I did this in a 9x13 pan because we have a large family but if you want to cut the ingredients in half you can and it will fit nicely into an 8x8. Also a nice variation is to add cauliflower. It is so good.

Ingredients:
2 Bags frozen broccoli - the steam-able ones work great.
1 Cup Mayo
1 Can Cream of Mushroom Soup
 Velveeta - I use about 4 oz, softened
1 cup shredded cheddar cheese
1 packet Shake N Bake seasoning mix -chicken or extra crunchy varieties work well.

Preheat oven to 350, lightly grease pan.
Steam broccoli in microwave, drain. then combine with mayo, soup, shredded cheese and about 1/2 of the shake n bake packet. melt Velveeta in microwave until it is soft and combine with other ingredients. Top with more of the shake n bake crumbs. Bake for 45 minutes or until cheese is brown and it is bubbly.

Seriously, one of the best recipes for broccoli casserole I've ever had.

Monday, December 23, 2013

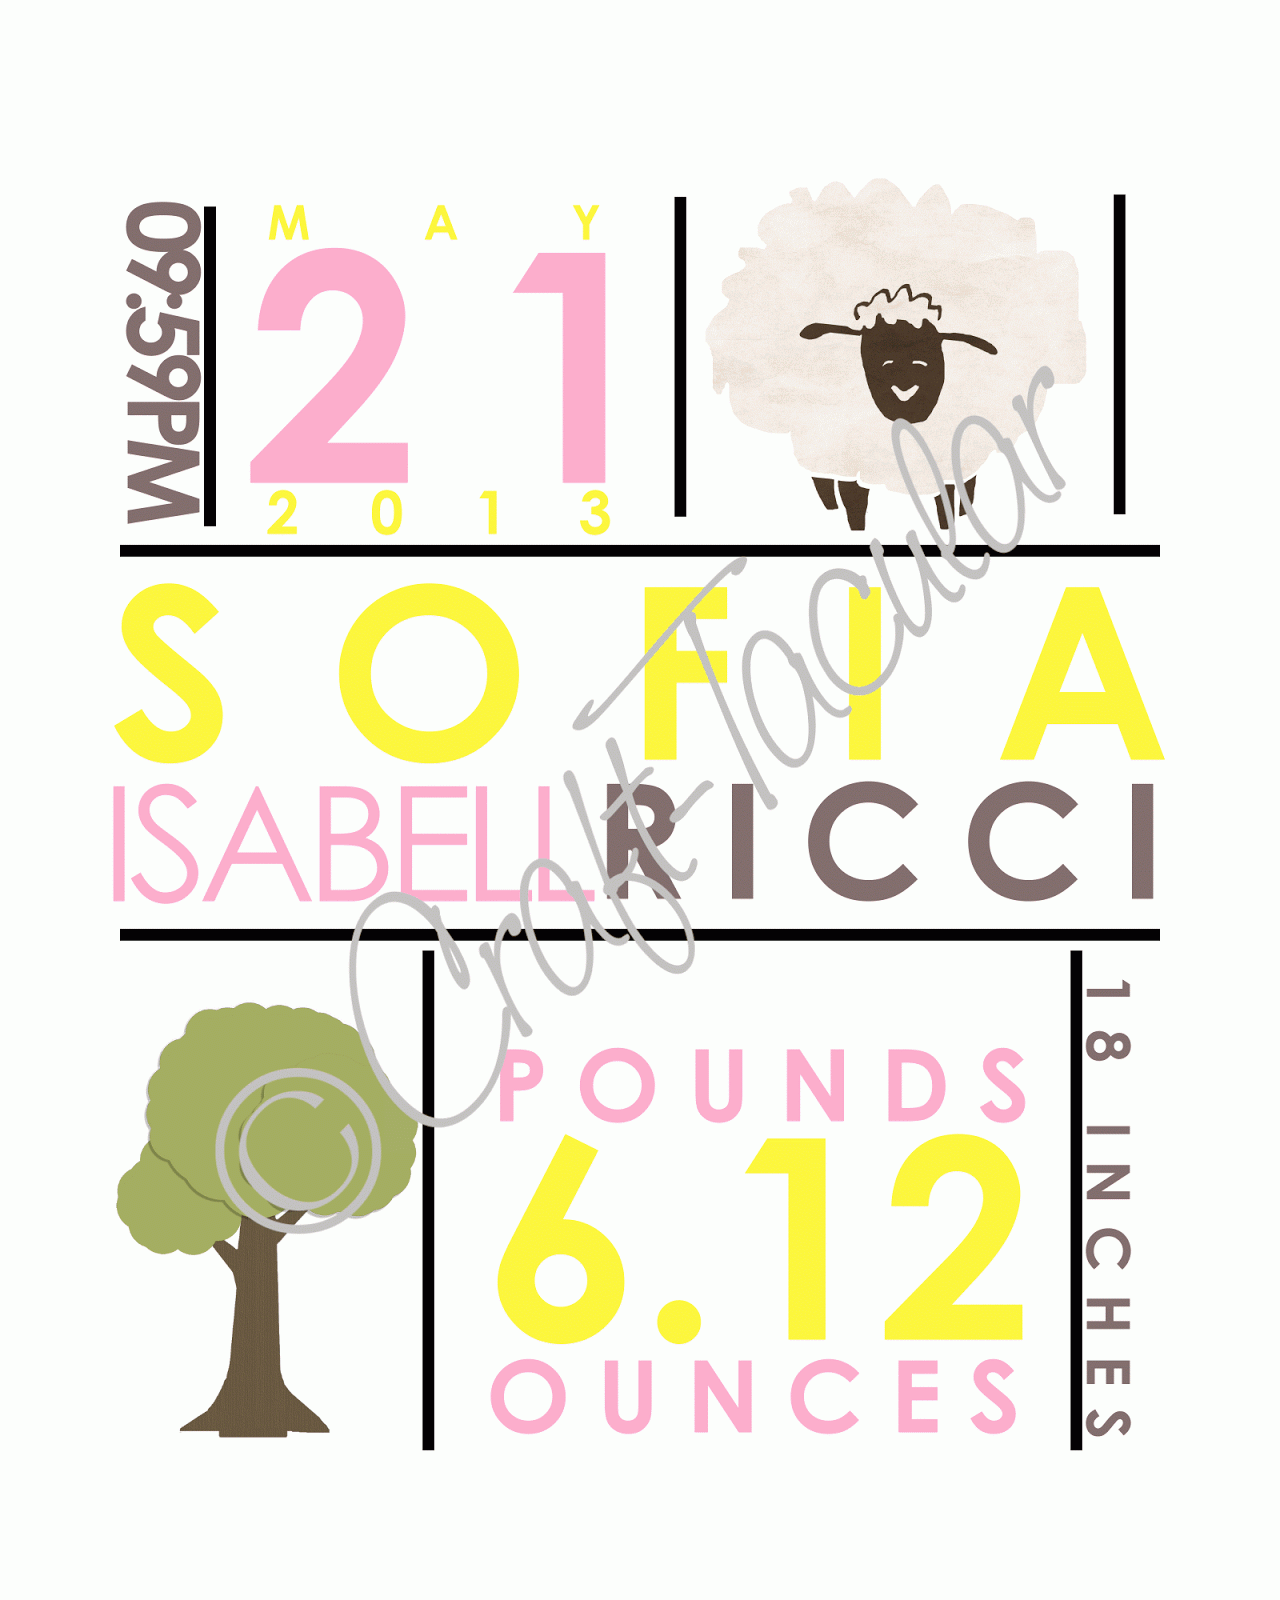
Personalized Baby Stats Info Subway Art

I made one of these for both of my girls and now I have added them to my shop.
They are fully customizable, and I just acquired some new clip art (licensed for commercial use) with some really fun images, Superheroes, Princesses, Baby Animals, Star Wars and more!

I haven't had a chance to update the shop with the new image choices yet, but a quick email to me and I can let you see the full range of choices easily. these can also be made for older kids and would be great birth announcements or like I have, keepsakes for their bedrooms.


The only thing that isn't customizable is the font- however I am considering making up different font styles in the future- these will have a different look.

For pricing and other options please visit my Etsy store.

Thursday, November 21, 2013

Loom Knit Red Sox Dog Sweater


Loom Knit Red Sox Dog Sweater


This sweater was made on the Red Knifty Knitter Loom. And the Red Sox “B” is a crochet applique. This dog is 11” from neck to tail and this fit perfectly.

When you are knitting a project like this one that requires leg holes before you start you should mark on your loom where your leg hole stitches will be. I use 4 stitches as a guide and I center them off of the starting peg. I mark mine by writing on my loom with sharpie but you can easily use stitch markers instead.


Materials:

Super bulky yarn in grey, and red

Bulky yarn in white for outline

Red Knifty Knitter loom

Loom tool

Crochet hooks 5.5mm (for “B”) and 4.5mm (for outline)

Tapestry Needle


Pattern:


E-wrap cast on
E-wrap for 10 rows
Make brim (if you need help with this there are tons of YouTube videos)
Starting with row 11, e-wrap around to last peg, do not join! For the next row e-wrap in the opposite direction, this will make an opening at the bottom of the sweater.
Continue alternating e-wrap for 10 more rows
Row 21- make leg holes 


(This diagram is for the small blue loom but the same principal applies, also ignore the part about the cables that was for a different sweater)

I'm going to name the pegs A and B, A being the peg on the left and B on the right. Take B, put it on peg A, so now you have two loops, knit off stitch, place back on peg B. it sounds complicated but it's really easy. Then continue for the next 3 pegs until you have 4 empty pegs. After you have your 4 empty pegs, wrap your working yarn around them as a foundation for the next row and continue on knitting around the loom again until you get to your next leg hole pegs, repeat cast off of 4 stitches, and finish the row.

After the leg holes are made, continue with the e-wrap and turn pattern for 25 more rows (a total of 46 rows- this includes collar rows)
Cast off the same way you made the leg holes, leave a 6” tail. You will have a loop left, just weave your tail yarn through the loop and secure into the inside of the sweater. Now turn sweater inside out and sew up the seam ½ inch below the leg holes to the collar to close. Weave in end.
That’s it for the main sweater. If you would like to add the applique, please follow this pattern and sew onto sweater.

Happy Knitting!

*You may sell items from my patterns, all I ask is that you credit my blog*


Monday, November 11, 2013

Hello Kitty Party

This past weekend was my oldest daughter's 4th birthday party! Today is her actual birthday and while I'm still coming down from the weekend I thought I'd share her birthday party. It was Hello Kitty themed and she loved it. I had a lot of fun planning it and luckily for me HK is absolutely everywhere so it wasn't too hard to find ideas for the party.

First were the invites, these were again done by my lovely friend. She did an amazing job as usual!
 
Everything after that pretty much fell into place, I decided to go with a small HK cake and coordinating cupcakes. All of the toppers were purchased at Party City. The cake pan and cookie cutters were from Amazon. For the round chocolate decorations on the cake, I got those at JoAnn fabrics in the cake section. They were an easy add on and a less painful way to decorate than piping all of the detail on the cake.
We did another bounce house this year, even though it was much colder than last year all of the kids still had a blast
.
Door sign from Etsy
Cookies were decorated with edible markers


She's 4!!

Tuesday, November 5, 2013

Fall


         I love the fall. I love the leaves, I love the colors, I love the crisp air, I love football and I love taking pictures. I'm still learning my camera (Nikon D3100) but anytime I can I'm enjoying snapping some pictures of the season. This year I was lucky and able to get some great pictures of the leaves. I had my camera on the P setting and seemed to have good luck with it. I'm trying not to use the flash whenever possible and staying away from Auto mode.
I'd love to take some photography classes at some point but for now I'm just going to practice!


Wednesday, October 30, 2013

Princess Beanie Pattern

 
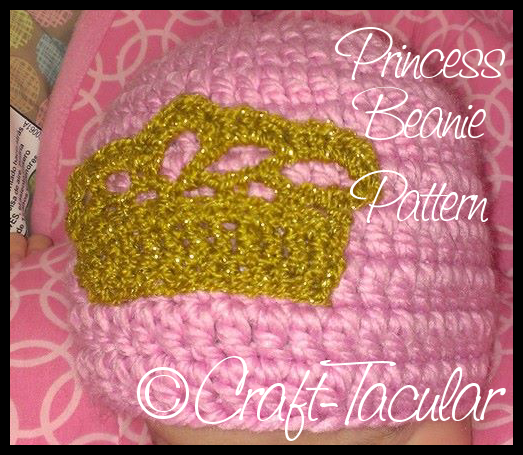
For Halloween this year my little one is going to be Sleeping Beauty, a cute headband came with her costume but for where we live she needed something warmer to go trick-or-treating with her sister. So I decided to make her a hat with a gold crown applique.

For the hat I used Loops and Threads Charisma yarn in pink with a 5.00mm hook.
For the crown I used Vanna's Glamour Yarn in Gold. I also bought the silver to try and it looks just as cute! This is a sport weight yarn so I used a 3.75mm hook.
This hat was made in size 3-6 months and I follow the template from Sarah over at Repeat Crafter Me.

Bulky yarn and 5.00 hook was used for this hat.

Pattern   (3-6 months):
Round 1: Magic Ring DC11 into ring, join to first DC, ch2
Round 2: 2DC around, join to first DC, ch2
Round 3: *2DC, DC in next* around, join to first DC, ch2
Round 4: *2DC, DC in next two* around, join to first DC, ch2
Round 5: *2DC, DC in next 10* around, join to first DC, ch2
Round 6-11 DC in each around, join to first DC, ch2
Fasten off, weave in ends.

Crown Applique: Pattern modified from Little Frills Designs
Ch 13 loosely
Row 1: SC in 2nd stitch from chain, sc across, turn
Row 2: DC across, turn
Row 3: SC across, turn
Row 4: *Ch3, skip 1, SC into next st* repeat 4 times so you have 5 "loops"
Row 5: Ch6, 1 DC into first loop, ch4, DC into next loop, ch6, 1 DC into next loop, ch4, 1 DC into next loop, ch6, 1 DC into last loop slip stitch into last st, turn
Row 6: HDC 6 into first loop, HDC 4 into second loop, HDC 2, DC 2, HDC 2, into third loop, HDC 4 into fourth loop, HDC 6 into last loop. Fasten off, leave a long tail for sewing.

Sew the applique to the hat, gloves, headband or whatever it is needs the royal treatment.
Happy Halloween!


Monday, October 21, 2013

Ceiling Fan Re-Do!

For my birthday this year my awesome husband bought me a mini ceiling fan for my craft room/office. Before it was installed I decided I would spruce it up a bit with some fabric and Mod Podge.

I still have a ton of this damask fabric leftover from when I did the window treatments so I figured I would have everything match.

Materials Needed:
Mod Podge (MP)
Fabric
Scissors
X-acto knife
Paint Brush

First, I laid out the blades and traced the outline onto the fabric. Then I put a thin layer of MP down on the blade and laid the fabric on top. I set them aside to dry for a couple of hours. I then followed with 3 coats of MP on top of the fabric to seal it. After everything was dry I used the x-acto knife to make the holes for the screws in the fabric and clean up the edges.
Then I installed the hardware and had it installed!
I love my present!


And I made a matching light switch plate as well!


Tuesday, October 1, 2013

Heart Newborn Beanie


My newborn had a 15" head at almost 6 weeks old, so this should fit a newbie right out of the oven with room to spare if you need to adjust the pattern, try going up or down in hook size before messing with the actual pattern.
Pattern is for newborn size only.


Materials:
Bulky yarn in contrasting colors
5.00mm hook
tapestry needle

Hat:
1: Magic circle, ch2, dc10, join with sl in first dc, ch2 (10)
2: 2dc in each stitch, join, ch2 (20)
3: Dc, 2dc around, join, ch2 (30)
4: Dc, dc, 2dc around, join, ch2 (40)
5-10 Dc around, join, ch2
11: sc around in contrasting color join weave in ends


Heart:
Magic circle, ch3
*all sts are done in loop, pull closed when finished.*
3trc, 3dc, ch1, 1trc, ch1, 3dc, 3trc, ch2, sl st into center, pull closed, leave tail for sewing, attach to hat, weave in ends.


Thursday, September 19, 2013

Owl Amigurumi Family

Our family of four!


For this project I followed the pattern from Sarah over at Repeat Crafter Me. This was a really cute project that I completed in just a couple of days before our baby girl was due. I added a 4th owl and made a couple of adjustments to the number of repeats for the baby owls so that they would be different sizes.


 I also used safety eyes instead of sewing them. I also didn't sew the wings to the body, I like that they stick out. I really enjoyed making these and had fun with the color combinations!